
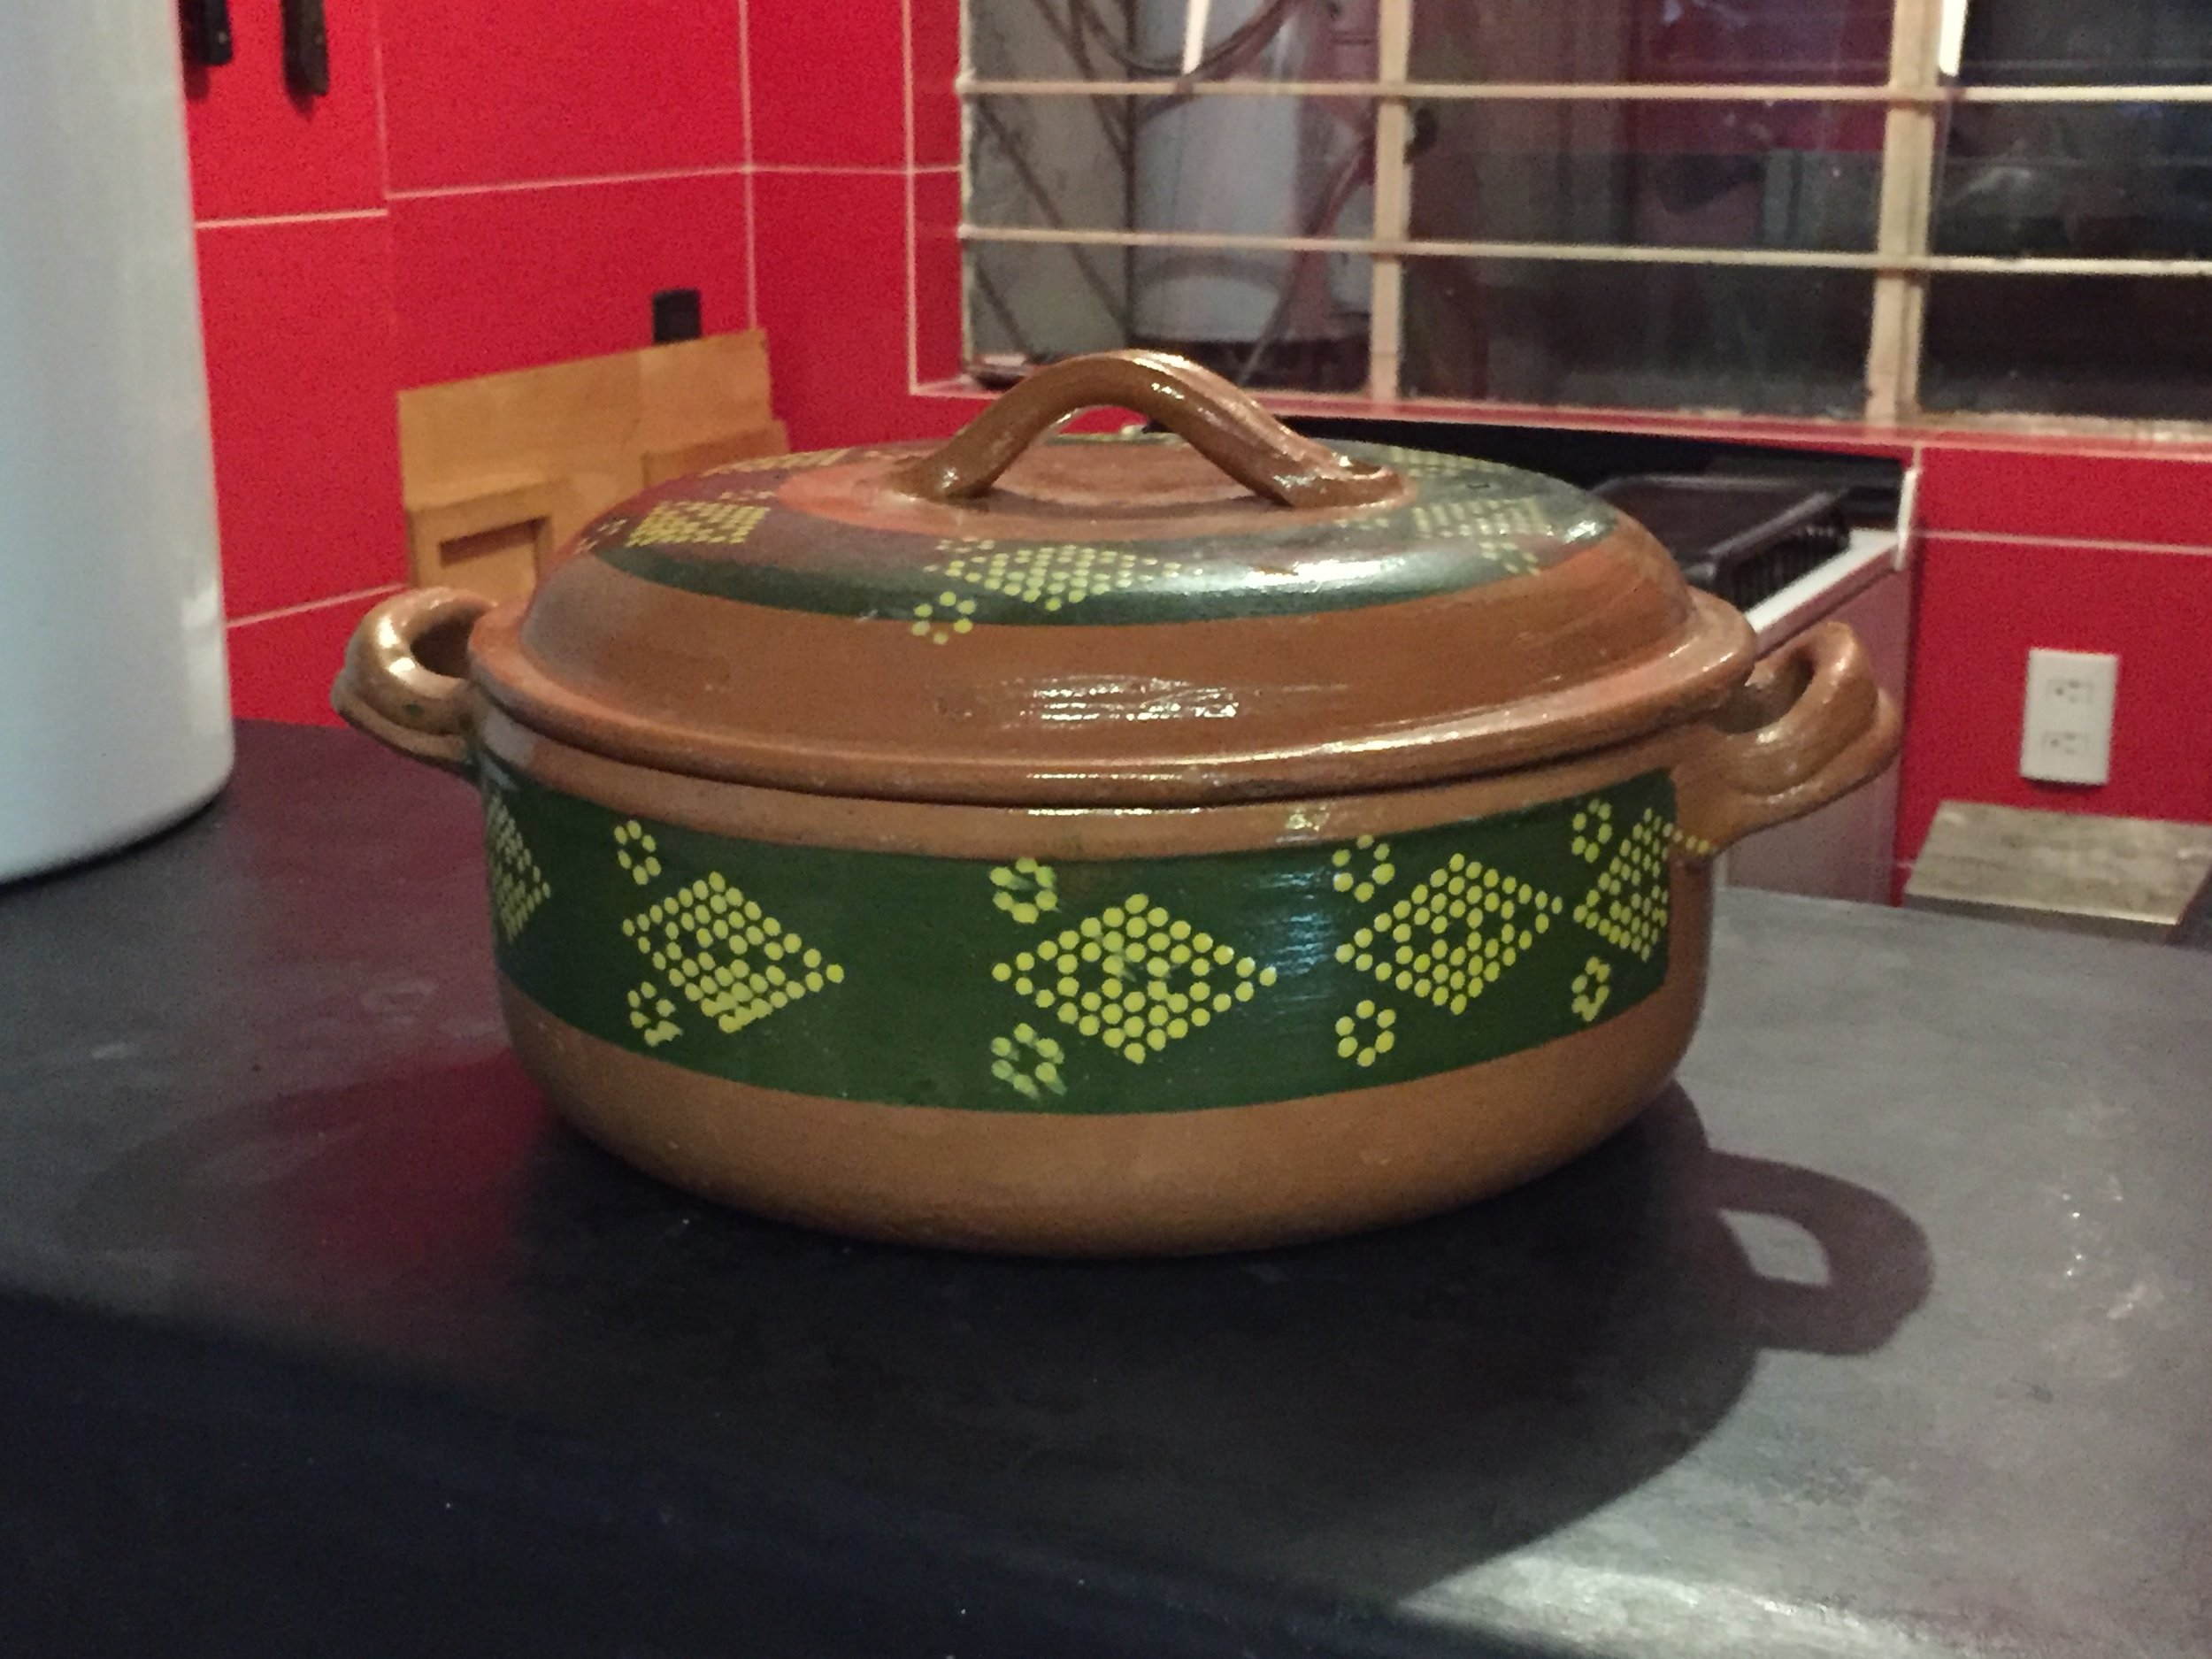
How to cure a clay pot
I just bought my first ever cazuela de barro—also known as a clay pot. Even though I didn’t grow up in a family that used these cooking vessels, I’d wanted one for many years but never bought one because I’d been scared off by scary articles like this one and this one. It’s true: many of the glazes used in Mexican pottery contain lead. That said, for generations, women in Mexico have cured their clay pots to remove lead residue in the glaze and to make the clay more heat resistant.
Let’s be honest—I have my doubts that the curing process I learned actually removes all traces of lead, but who am I to argue with centuries of tradition? Many Mexicans will tell you that food cooked in cazuelas de barro tastes more delicious than food prepared in a metal pot. I find myself caught between the desire to uphold time-honored Mexican cooking techniques and the warnings issued by international health agencies about lead poisoning. What seems clear is that the harmful effects of lead are far more pronounced for young children; early exposure can lead to problems with the brain and central nervous system and a host of other serious complications. That said, since I am a middle-aged man and not a child, I’m going to take my chances and cure my clay pot so I can use it for cooking from time to time.
So, while I am in no way claiming that you will be able to avoid all exposure to lead if you cure your clay pot before you use it, if you’re comfortable assuming some risk here, here’s how to do it.
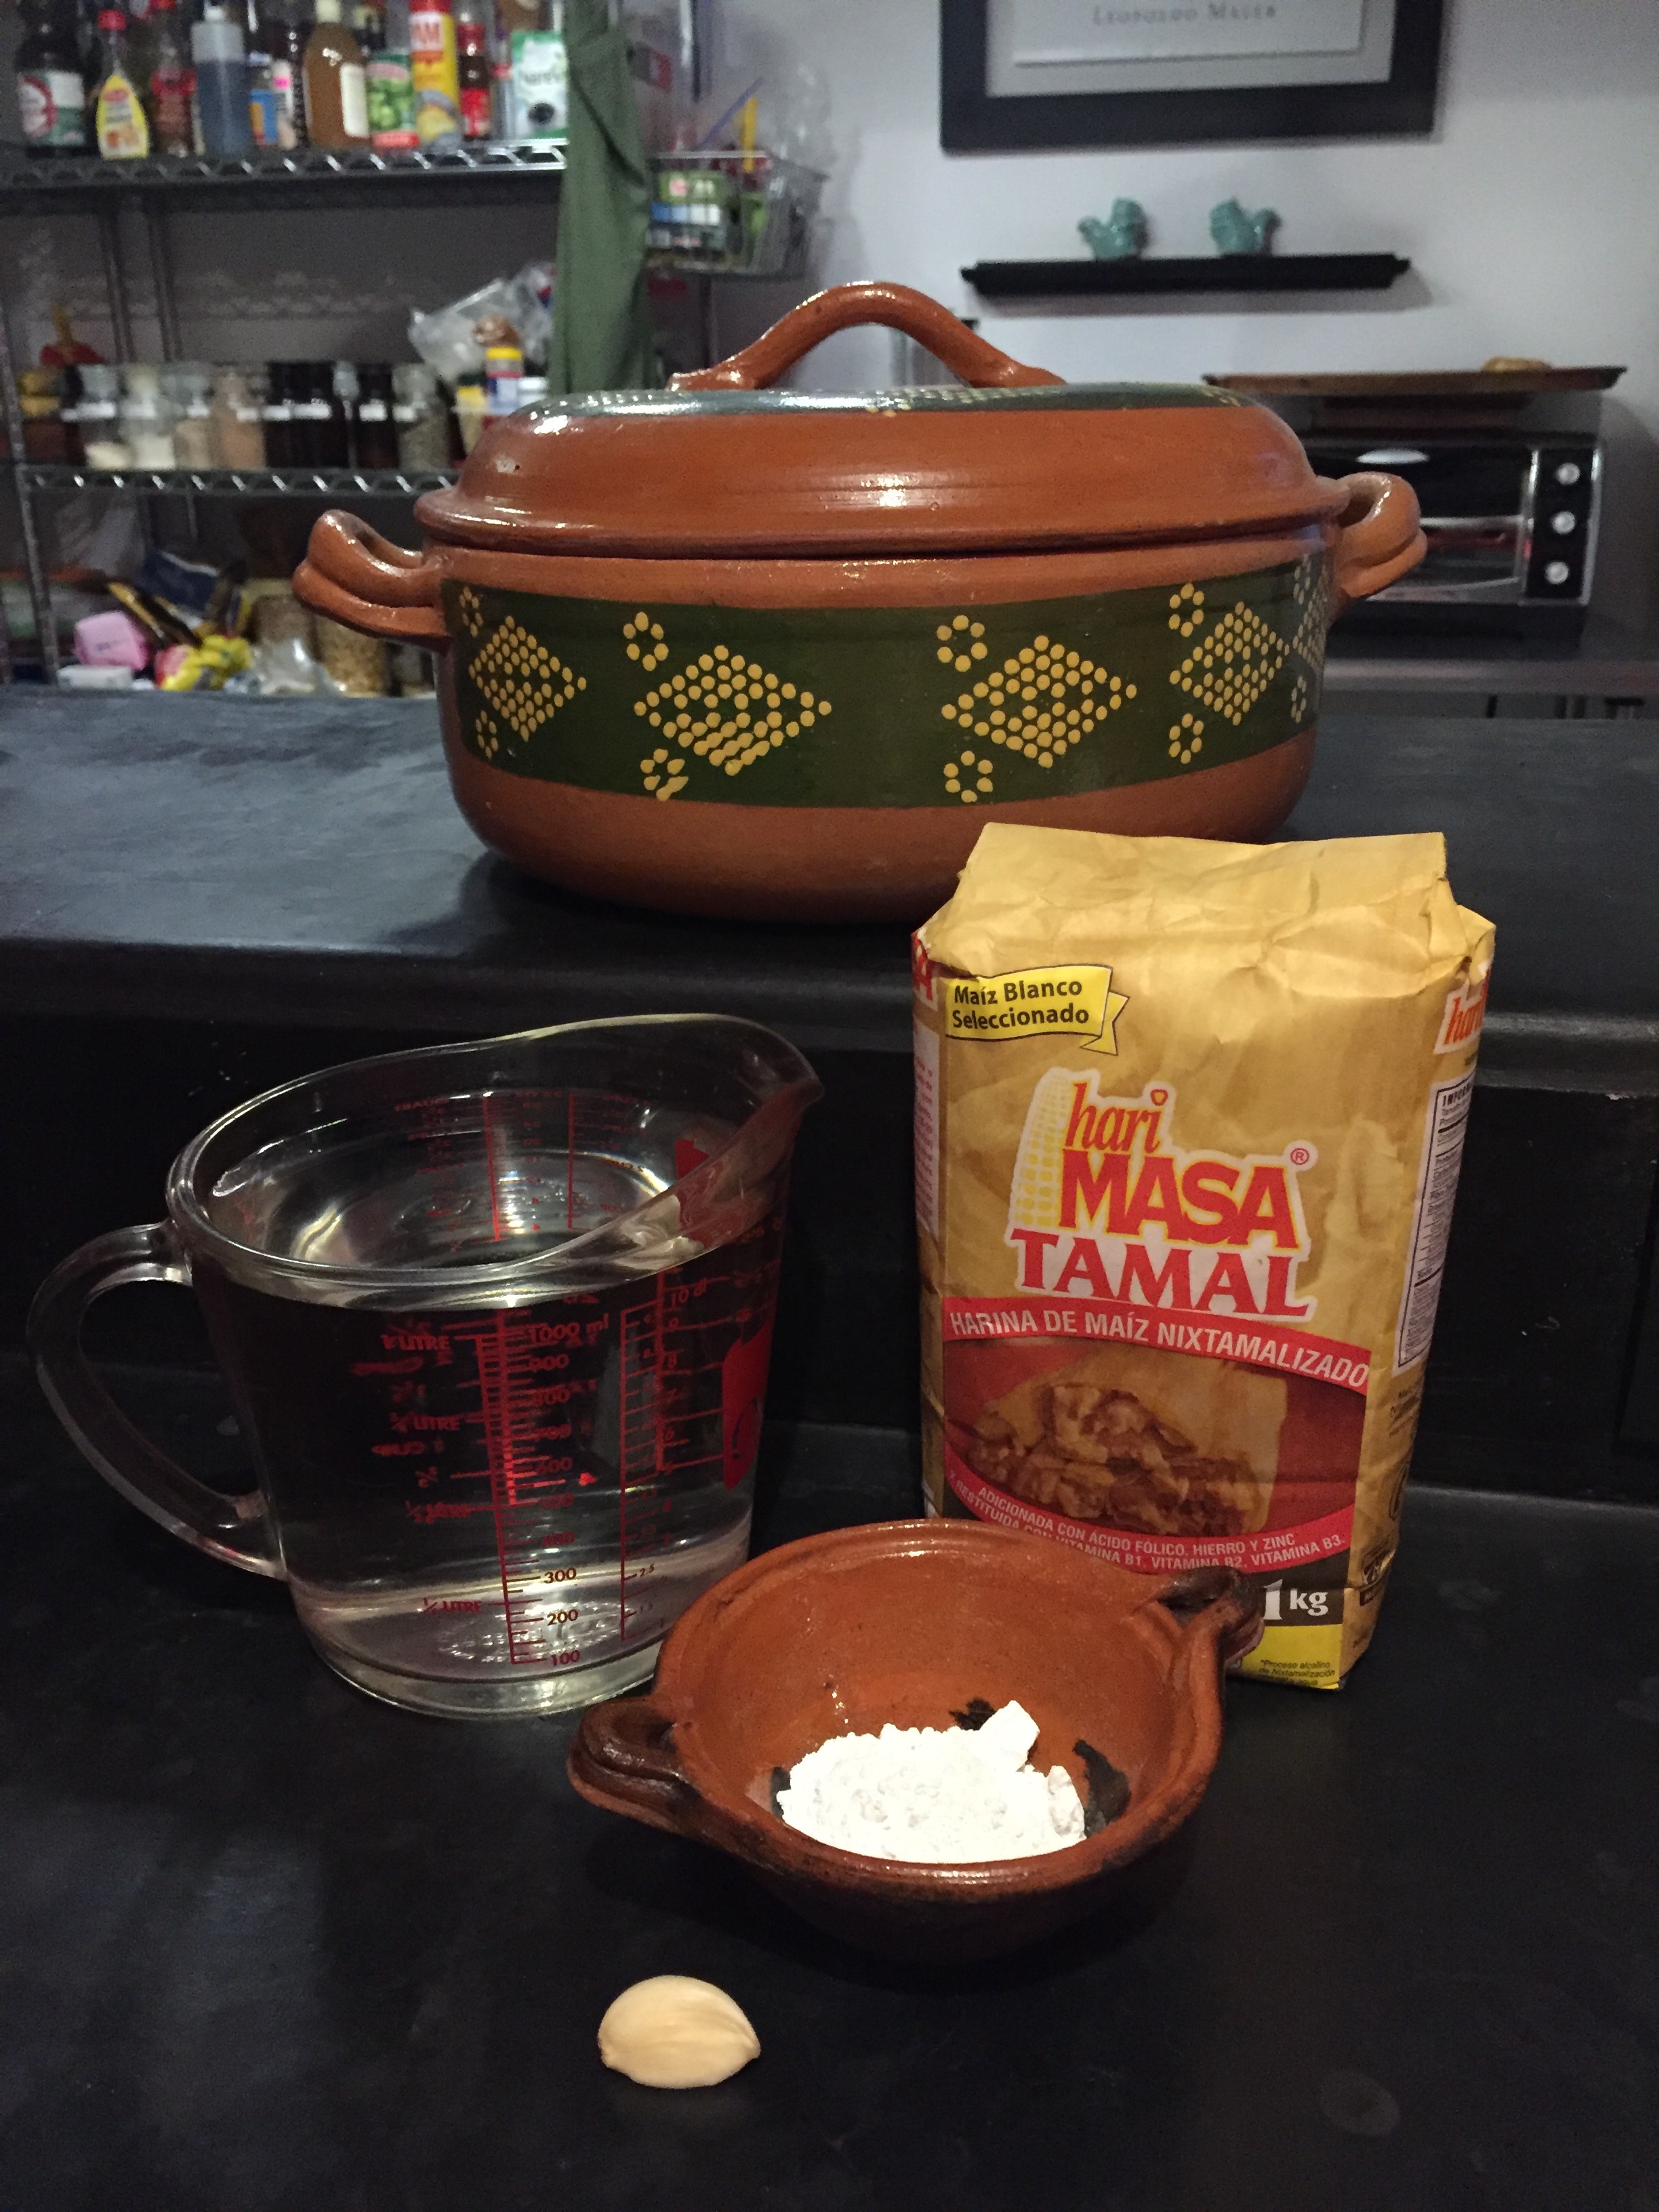
Here’s what you’ll need:
A cazuela de barro
Corn flour (masa harina) or corn starch
A heaping tablespoon of calcium hydroxide (cal)
A clove of peeled garlic
Tap water
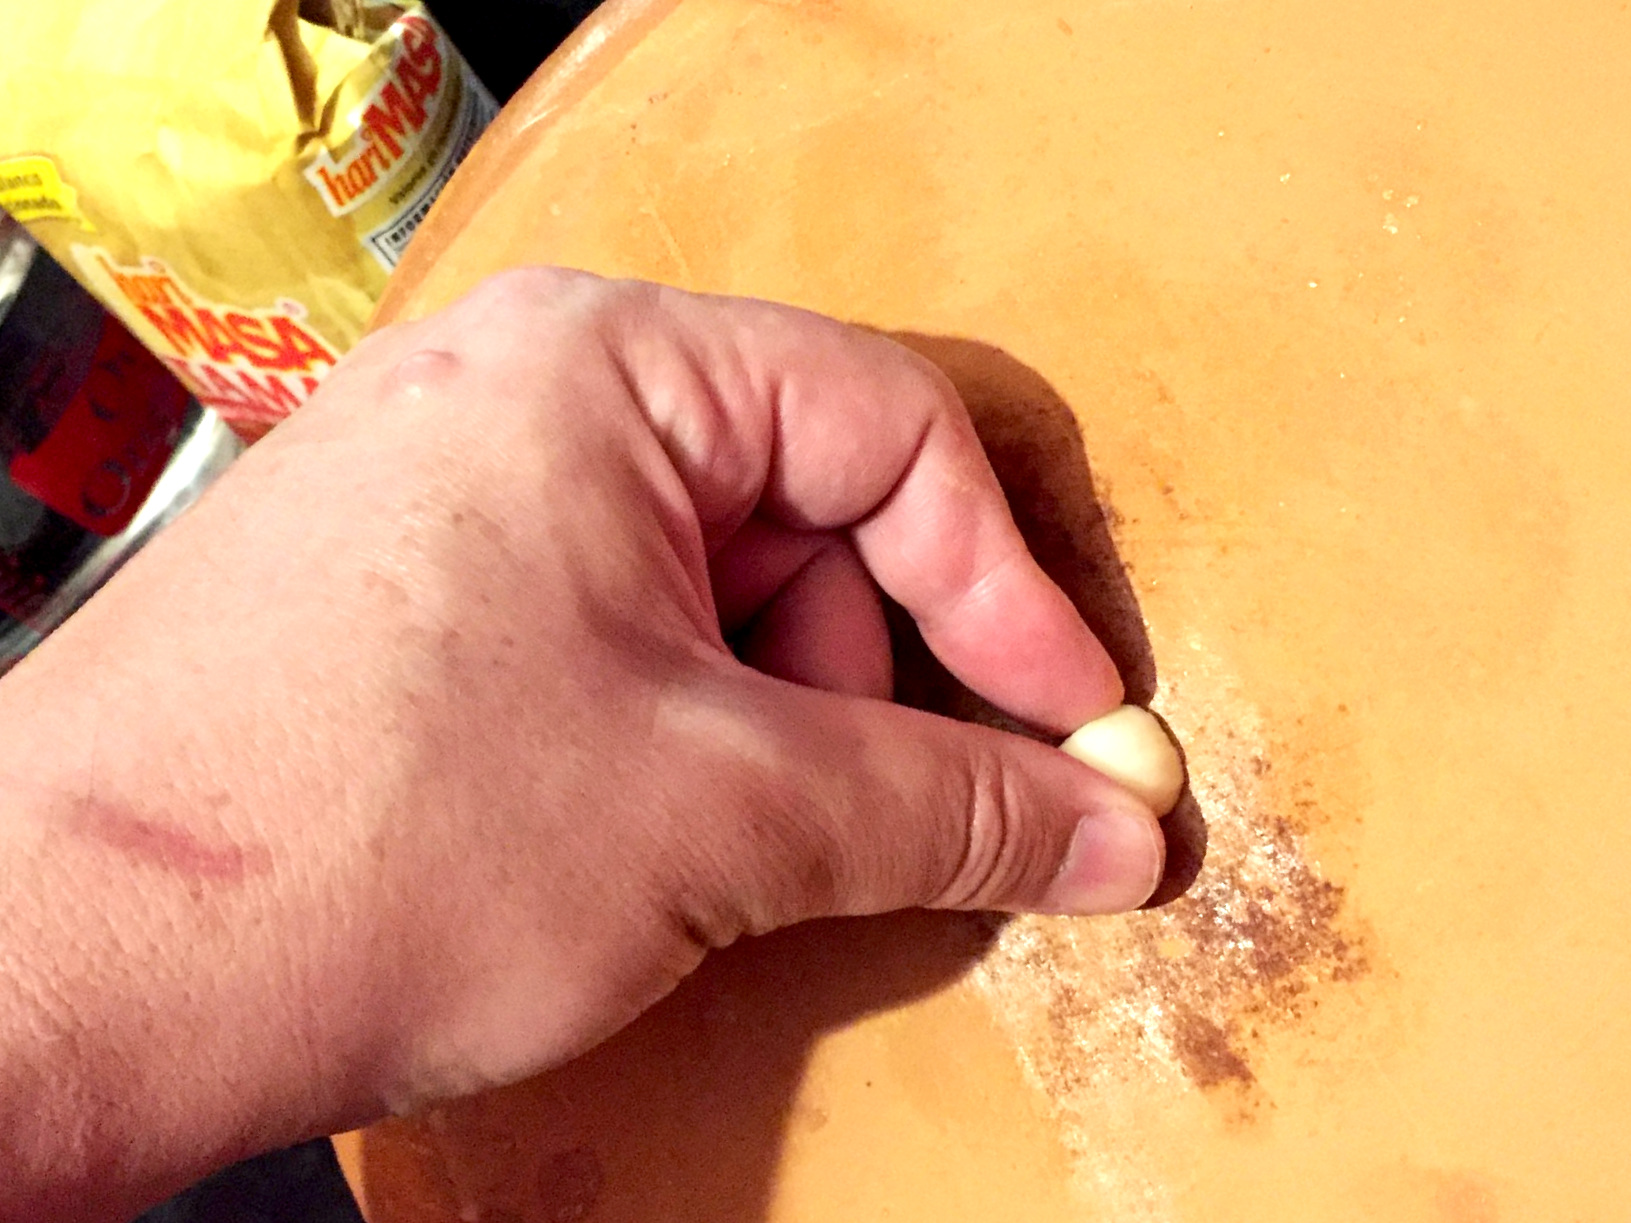
1. Cut garlic clove in half and rub it all over the bottom of the pot.

2. Rub garlic over sides of pot as well.

3. And also on the inside of the pot.

4. Add a cup of water to the calcium hydroxide and stir to combine.
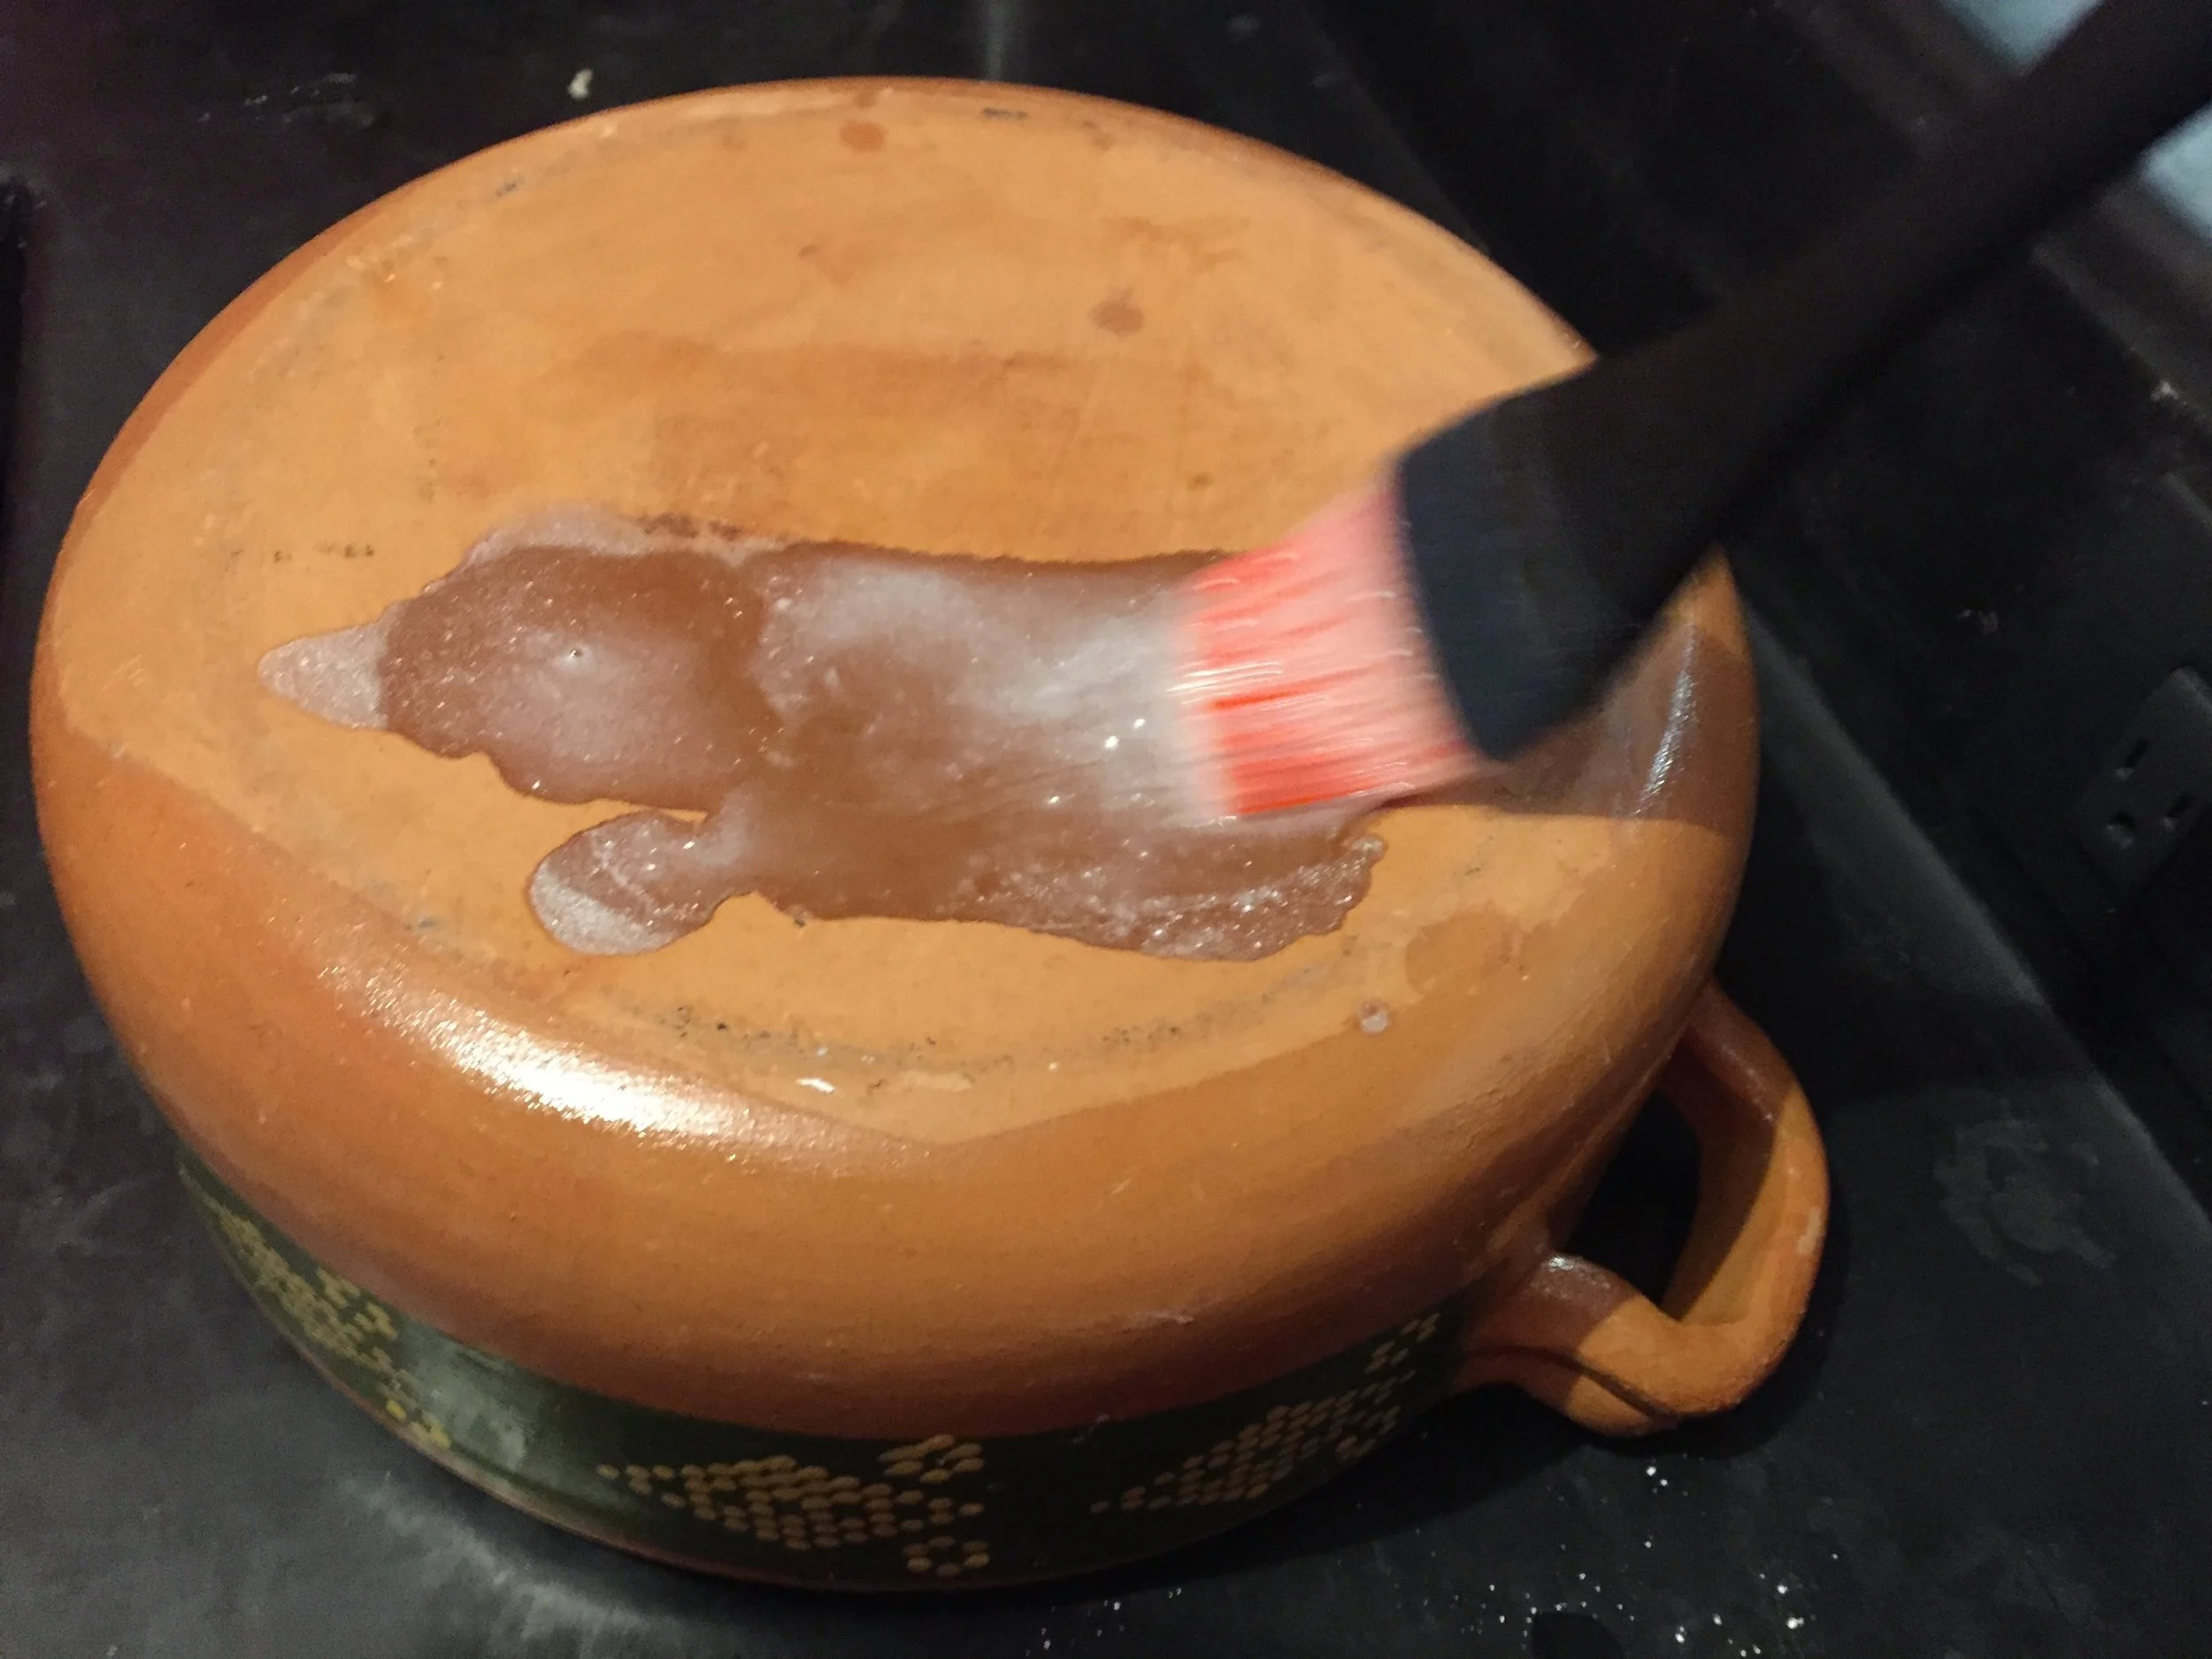
5. Use a brush or cloth to apply the calcium hydroxide solution to the bottom of the pot.
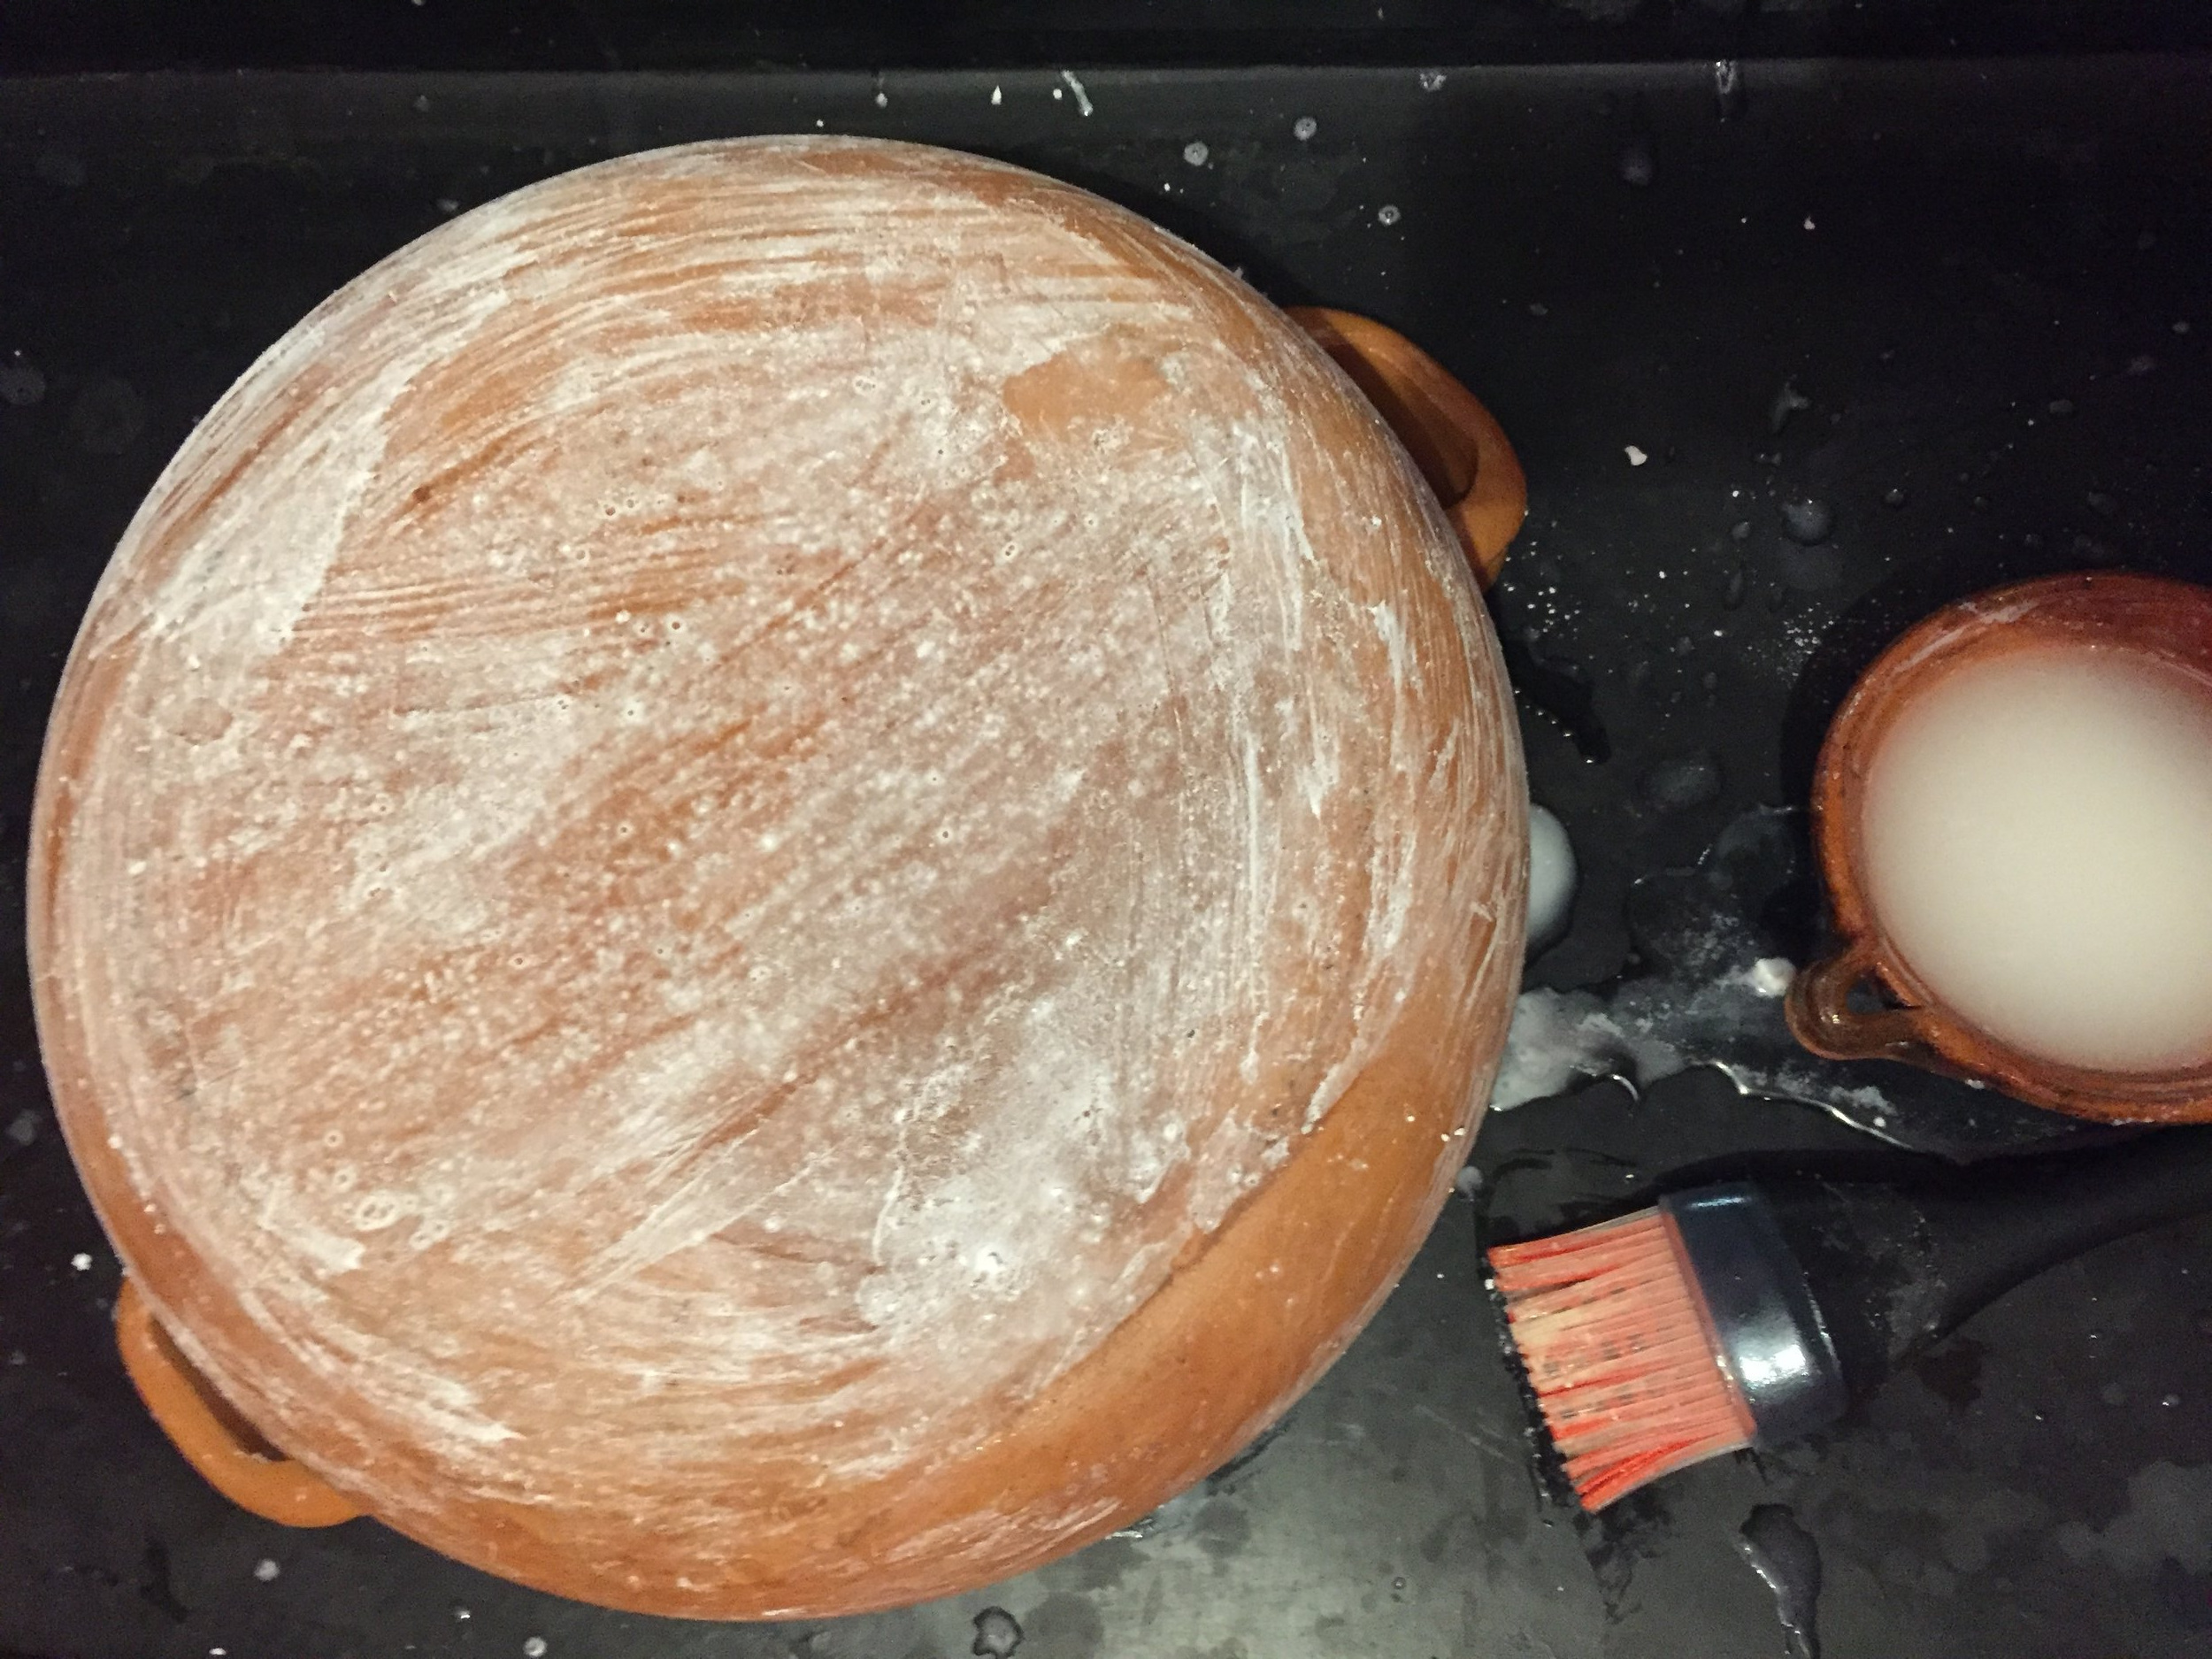
6. Once finished, let the pot dry for around five minutes to allow the clay to soak up the solution.
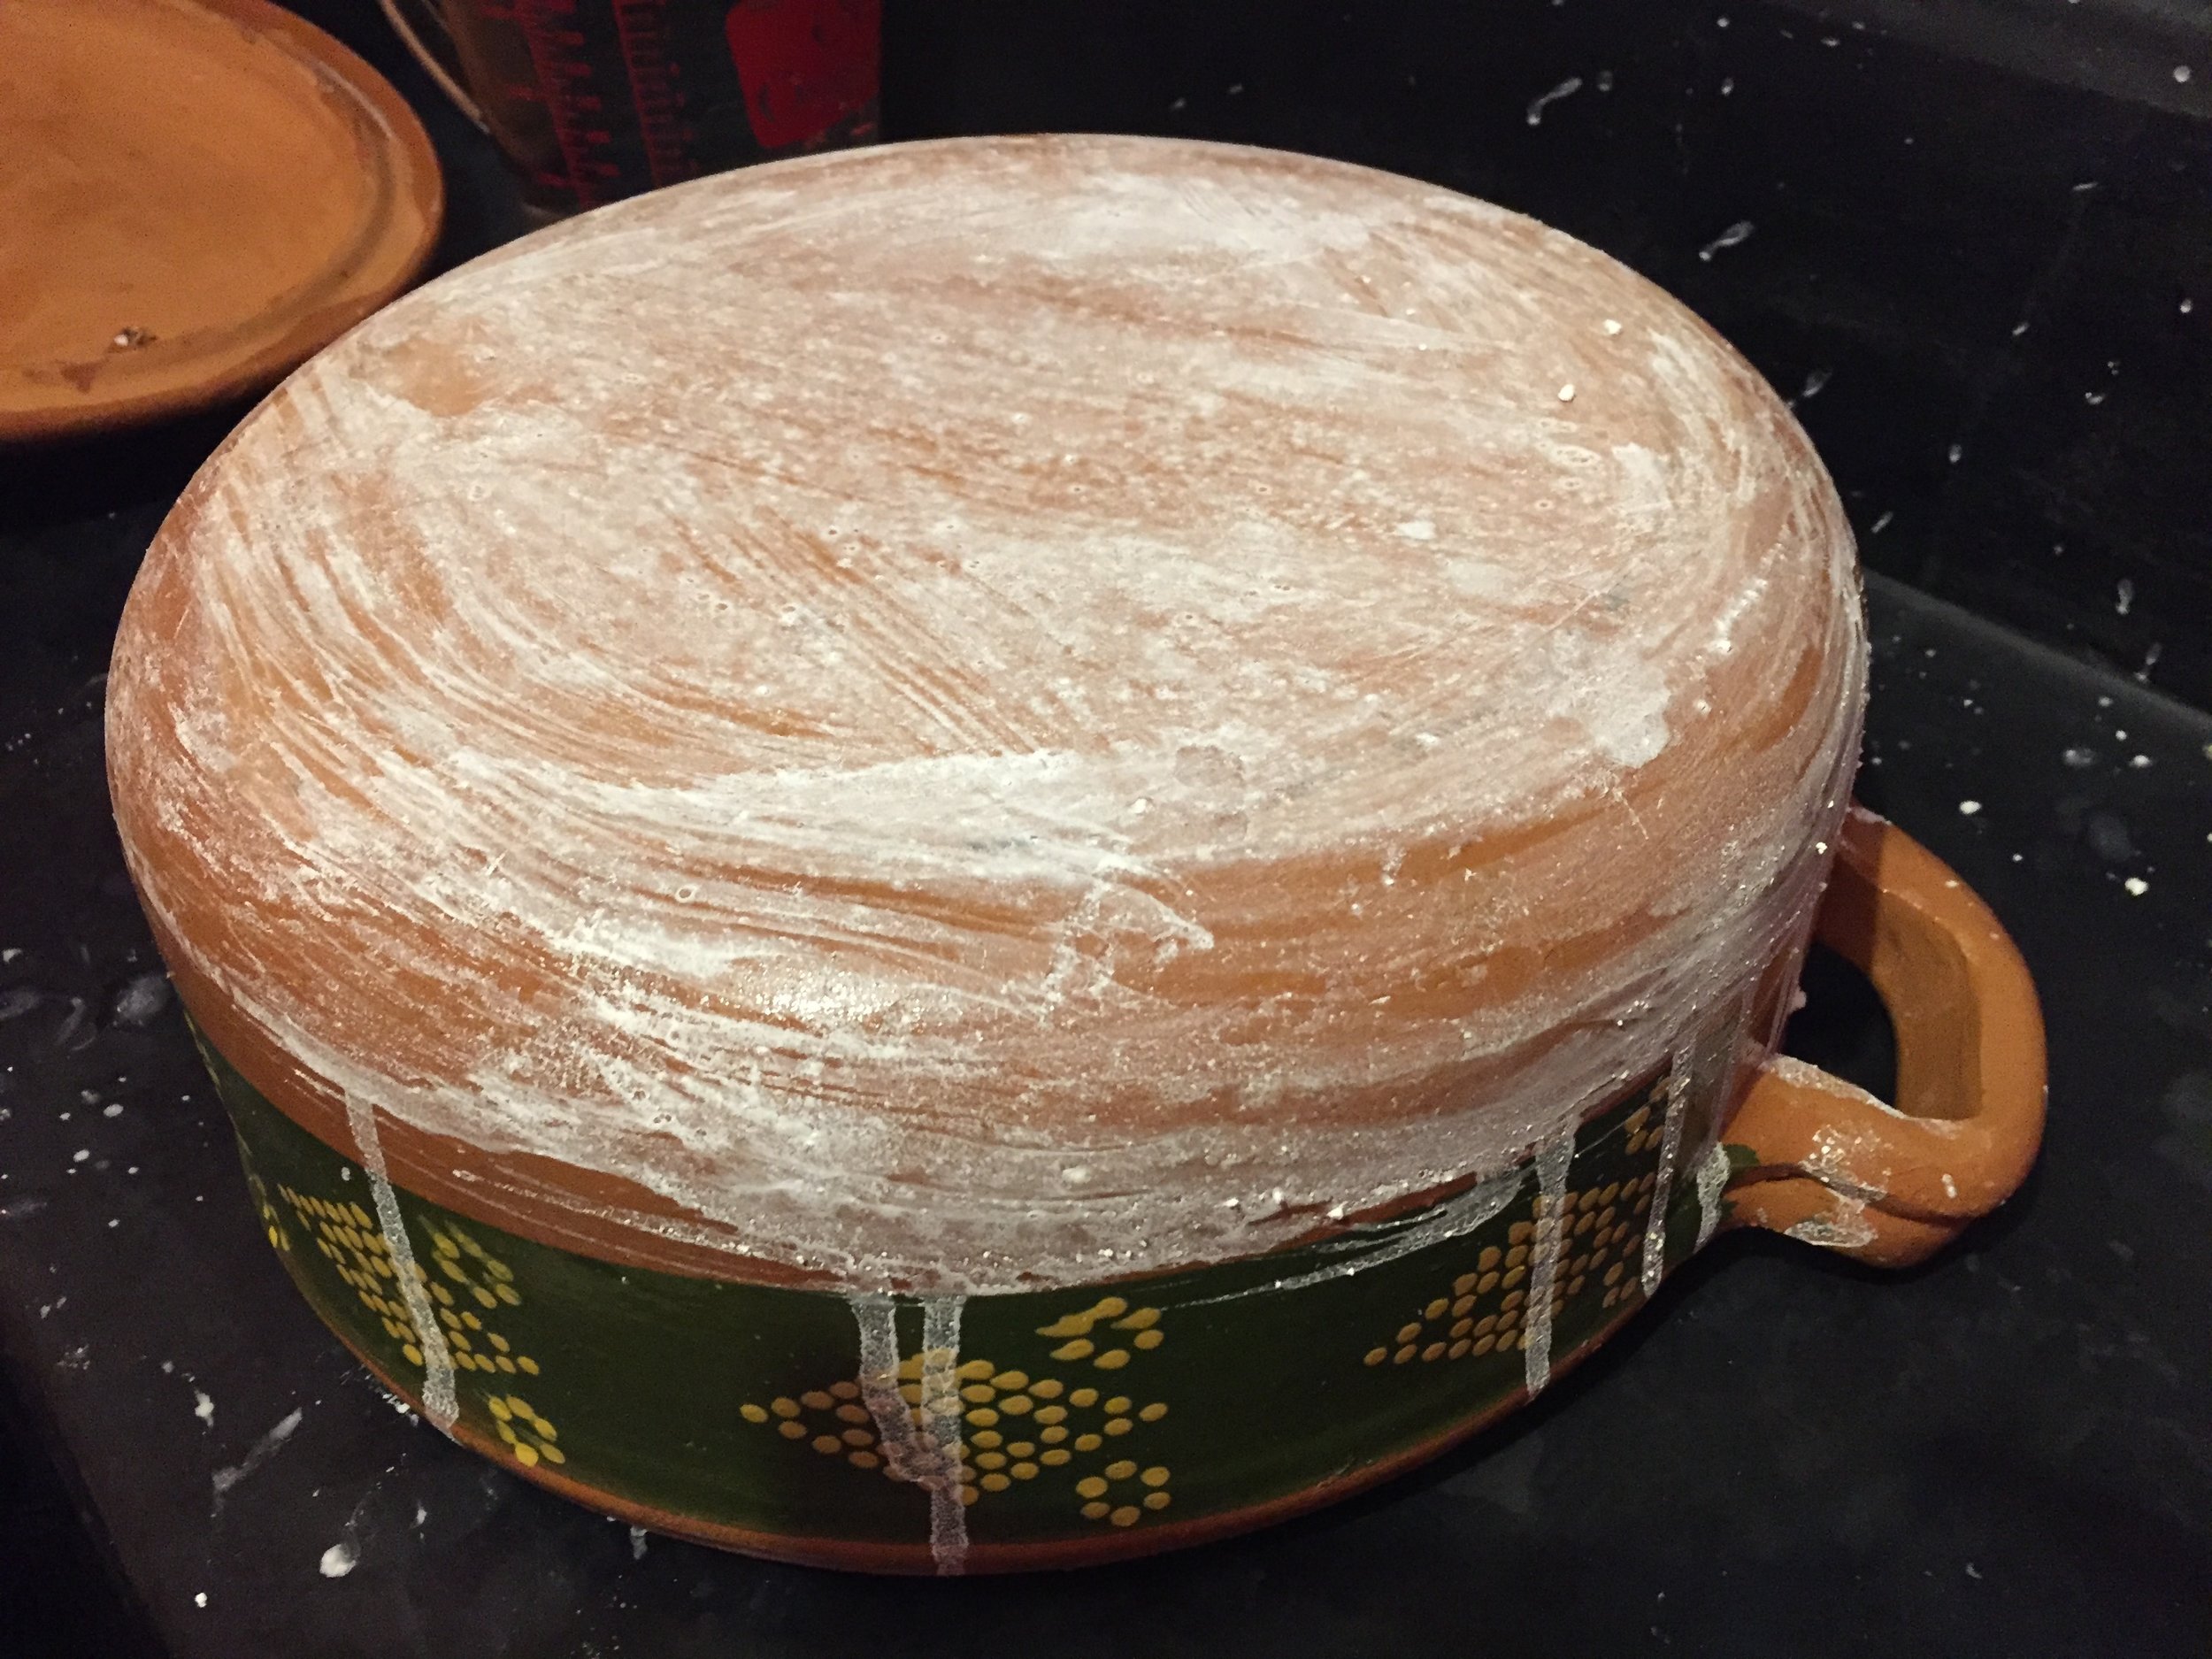
7. Add a second coat and let dry.

8. Fill close to the top with tap water and set on stove.

9. Add around six heaping spoons of corn flour and stir.

10. Keep stirring until you have a milky solution. Add more corn flour if necessary.
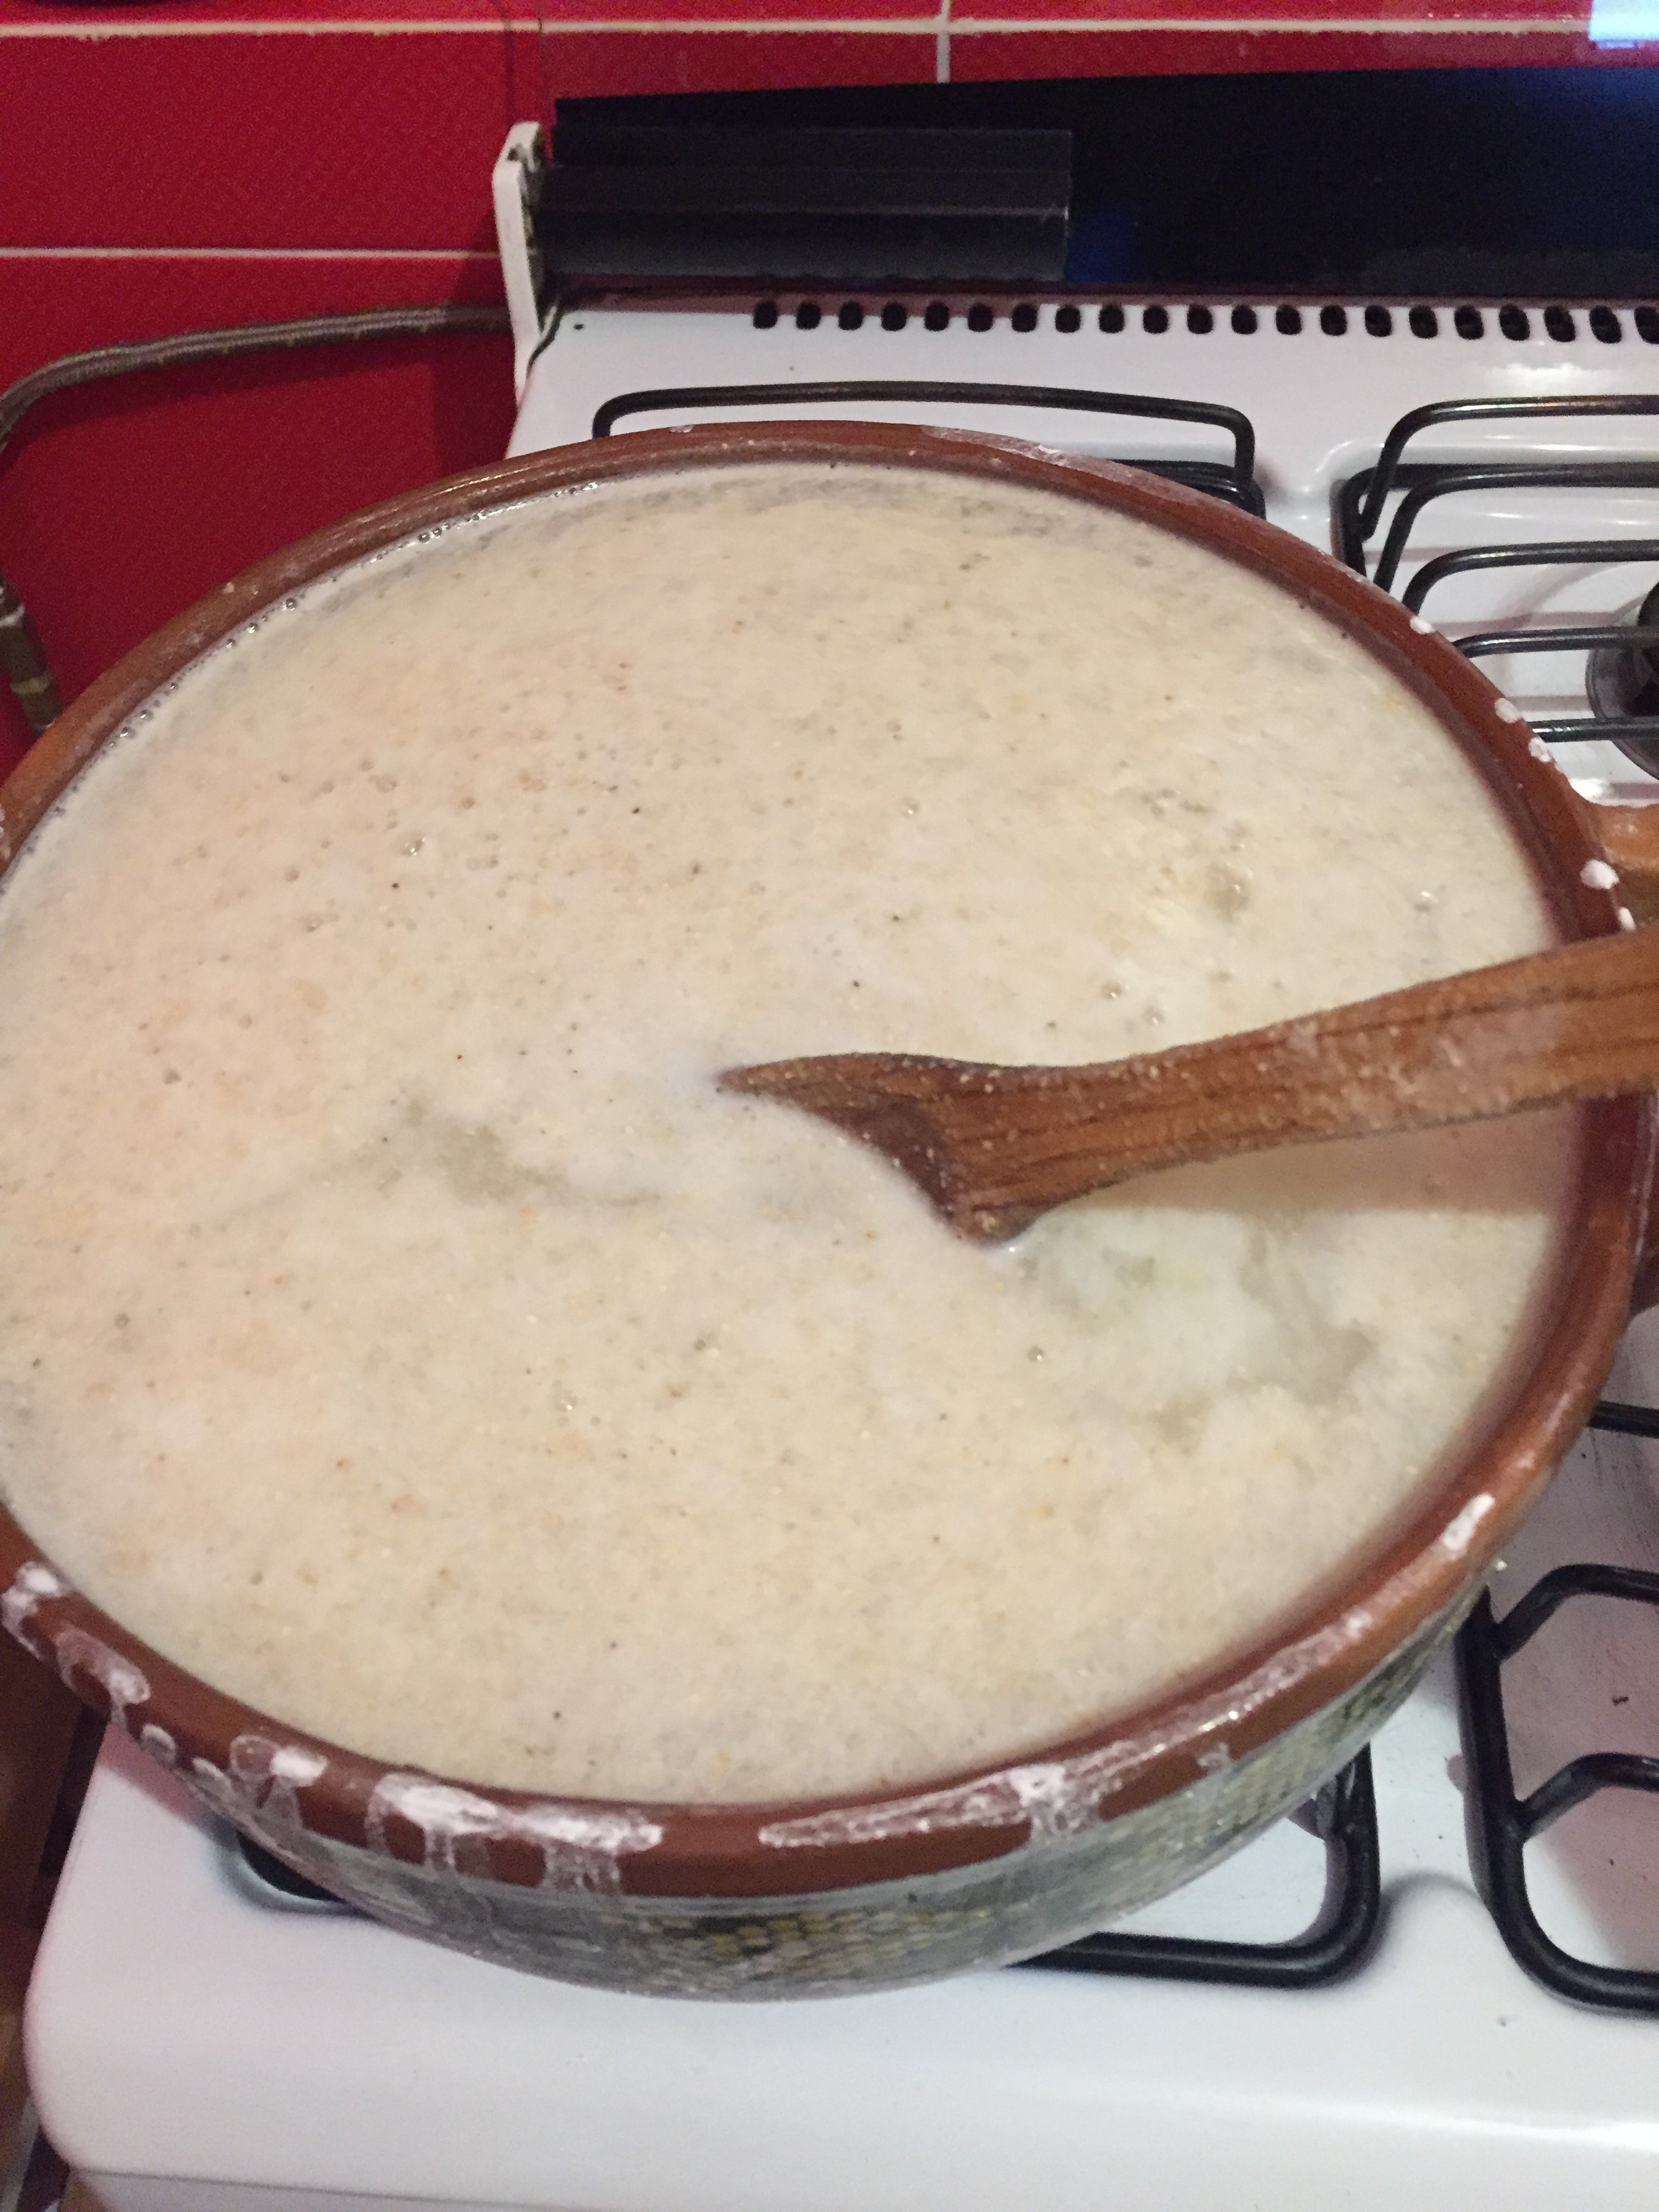
11. Bring to a boil, stirring to prevent flour from accumulating on bottom.

12. Boil for twenty minutes.

13. Discard liquid and rinse out any corn flour.

14. Let dry. And you’re done!
:)